|
|
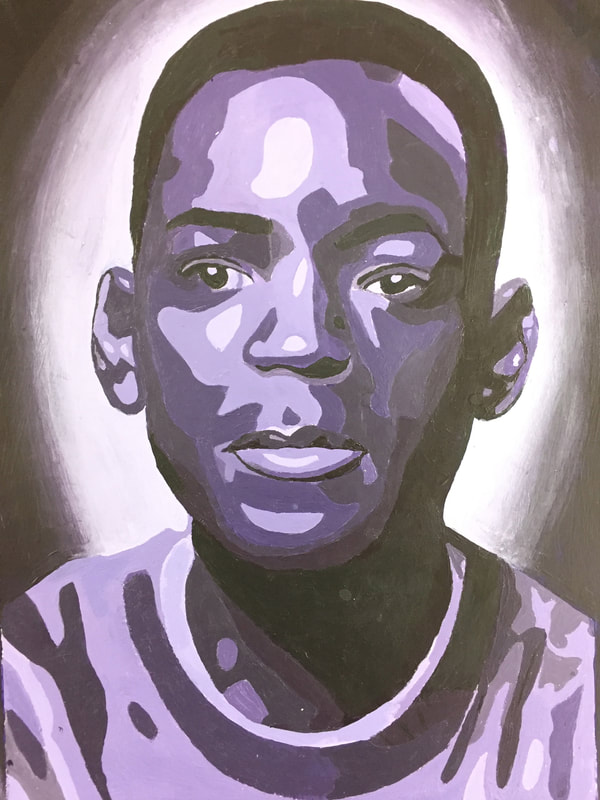
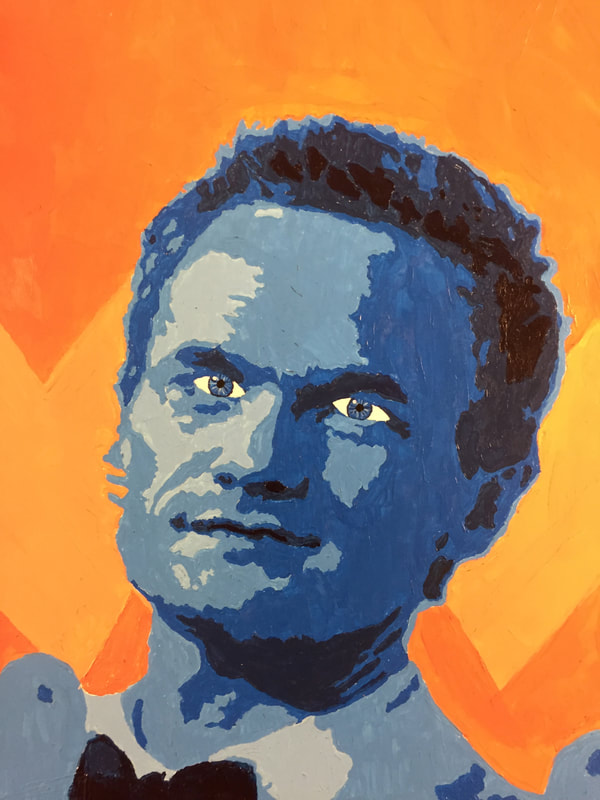
In class, we are painting a monochromatic portrait of our face. You need to complete the following steps to help you find success:
See the attached rubric. Set a goal and paint!
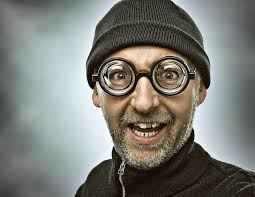
- Locate a human face that has a variety of tonal changes (you can use a 'selfie')
- Copy image
- Open Photoshop (in lab)
- File-New-Blank File (ok to all the boxes that pop up)
- Paste Image
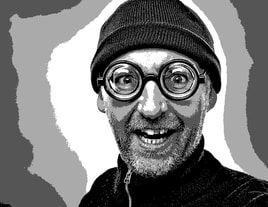
- Image-Mode-Grayscale ('flatten' and 'ok')
- Filter-Adjustments-Posterize
- Adjust the 'slide bar' to give you clear shapes and a minimum 5 tonal changes
- Copy that image
- Open a Word Document
- Paste the image into the Word Document
- Change the margins to 'narrow'
- Orient the paper to portrait or landscape (chose the best one for your image)
- Resize the image to fill up the whole page
- Printed the image to room 155
- Colour pencil (HB) on the back of the printed paper
- Put your printed image onto of a thicker, blank paper
- Trace out the shapes (right on the printed paper)
- These shapes will transfer to the paper underneath
- Number the shapes from darkest to lightest (on your printed paper)
- Choose ONE colour as your paint source (monochromatic painting)
- Using your paper guide (with numbers) start painting the light and dark areas of your face!
See the attached rubric. Set a goal and paint!
|
|
| rubric-2015-face-value.docx |
