Start with your plan
In paragraph form, answer the following questions with details:
|
| ||
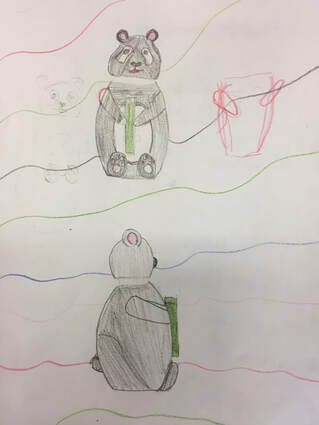
Start Building (Canopic Jar)
- Cardboard
- Tape
- Magazines
- Found Objects
DON'T OVER USE THE TAPE, PLEASE! At this stage you will need to problem solve the physical balance of the form (ensure it can stand up).
Mask Steps
Day ONE: With a partner cast your face (1/2 class for each person)
Day TWO: Add plaster to areas of the face that need to be filled in (ie nose holes) - LET IT DRY
STEP THREE: Build up the mask with tape, magazine paper, cardboard, found objects
STEP FOUR: place string or wire on the back of a book cover & attach the mask to the book cover when you are happy with the shape of your mask
STEP FIVE: Plaster your mask's shape and plaster it to the cover of the book (2-3 coats)
STEP FIVE: Drywall compound (SMOOTH it with warm water as you work)
STEP SIX: PAINT IT!
NOTE: Wet plaster and tape are not friends, they don't 'stick together'. Ensure you have built up your mask a great deal BEFORE you add any plaster. Once you add plaster, it is very difficult to 'step back'.
| culminating_mask_rubric-cameron.pdf |
